MotoBros Vlog · Lewisville, TX
99% of Riders Overpay for Their First Service
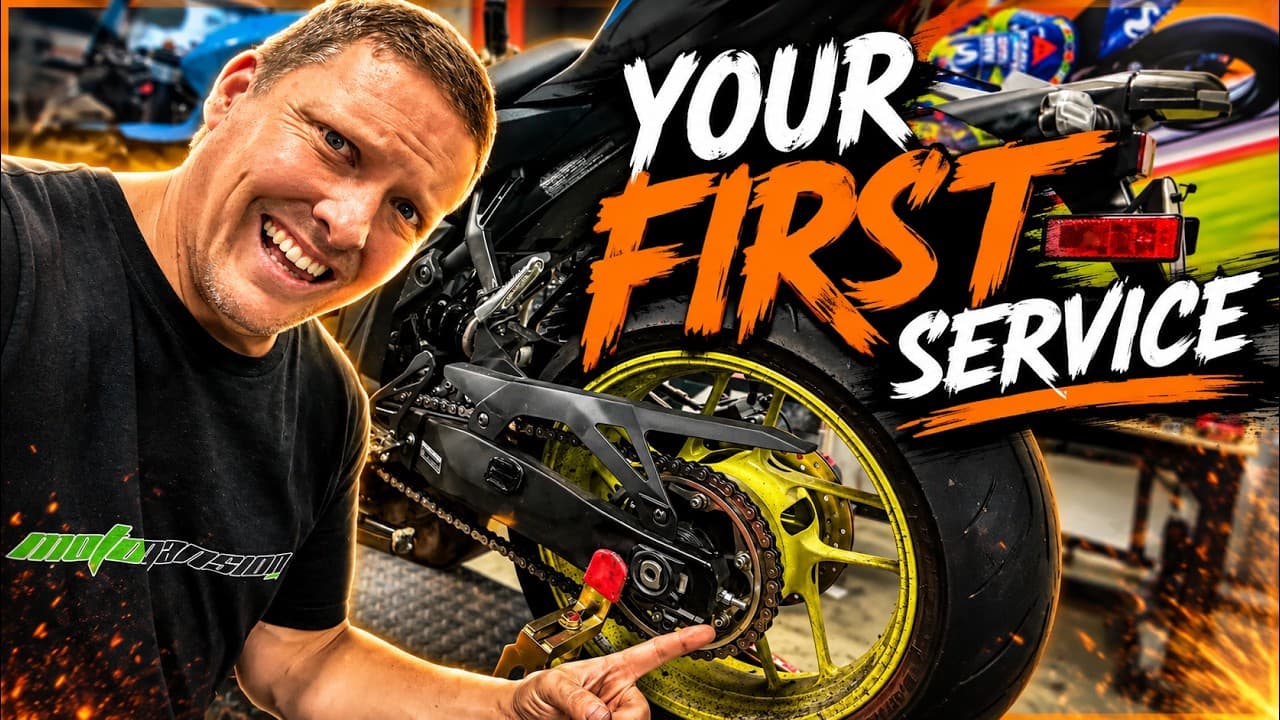
First service on the Yamaha R7: inspection, oil, chain, suspension, and the little setup details that make the bike yours.
Read the vlog
99% of Riders Overpay for Their First Service
My Yamaha R7's First Service: The Little Things That Make a Big Difference
There's something about getting a brand new motorcycle that never gets old.
I've been working on bikes for years, and I still get excited every time I roll one into the shop and start making it my own.
Today, we're getting the Yamaha R7 up on the stand for its first full service. I want to show you guys what we check, what we adjust, and a few simple things you can do at home to make your motorcycle feel better and keep it in good condition.
And yes, we're also going to talk about these yellow wheels.
Because I love the way they look, but keeping them clean is a full-time job.
First, Let's Make the R7 Our Own
Before getting into the service, I wanted to take care of a few little things that make a motorcycle nicer to live with.
The first was the warning sticker on the tank.
I know what you're thinking: "Craig, it's just a sticker."
But when you've got a beautiful blue tank like this, I want to see the paint, not a giant warning label.
The trick is to take your time. If the bike is new, the sticker usually comes off a lot easier. You can gently warm it or let it sit in the sun, then peel it back slowly instead of ripping it into a hundred pieces.
I also like using the sticker itself to pick up some of the leftover adhesive. Just dab it against the residue, and you'll be surprised how much comes off.
After that, clean the surface with a microfiber and a paint-safe cleaner. If you need an adhesive remover, make sure it's compatible with the finish and test it in an inconspicuous spot first.
The sooner you remove a sticker like this, the less chance you have of ending up with a visible difference in the paint after years of sun exposure.
And once it was gone?
Man, that tank looked good.
The Little Things That Make Riding More Comfortable
Next up were the little feelers underneath the footpegs.
These are one of those things that have been around forever, and a lot of riders don't realize they can be removed on certain motorcycles.
I personally don't like them. They can get in the way of my boots, and I prefer the cleaner look without them.
But there's an important thing to understand: those feelers are there to give you an early warning when the motorcycle is approaching its lean-angle limits. Removing them reduces that warning, so make sure you understand what they do and whether removal is appropriate for your bike and riding.
On the R7, I took them off and immediately liked how much cleaner the pegs looked.
While we were talking about rider setup, I also wanted to mention lever position and rearsets.
On some motorcycles, you can adjust the levers up or down to get a more comfortable wrist angle. On the R7, there are clearance limitations, so you can't necessarily make the same adjustments you can on other bikes.
Some motorcycles also have multiple rearset mounting positions. If yours does, experimenting with the position can make a noticeable difference in how comfortable you feel.
Just make sure everything has proper clearance, the controls operate correctly, and all fasteners are tightened to specification.
The Tail Tidy Makes Such a Difference
There's one modification I always love doing on a new sport bike: getting rid of that giant factory rear fender.
The stock bracket is bulky, and I think it takes away from the lines of the motorcycle.
A proper tail tidy makes the rear of the bike look so much cleaner.
But I don't like doing it halfway.
Don't just rip the bracket off and leave a big hole or a license plate hanging somewhere it doesn't belong.
Use a proper kit, install the block-off pieces, mount the plate securely, and make sure the lighting and plate placement comply with your local requirements.
Do it once, do it right, and the bike looks like it should have come that way from the factory.
What MotoBros Memberships Are Really About
Before we got into the actual service, I wanted to clear up something that I think a lot of people misunderstand about MotoBros.
You do not need a membership to come to the shop.
Anybody can come in, get service, buy parts, and get great pricing.
The memberships are there for people who want to be more involved in the community and take advantage of the extra benefits.
We have shop memberships and track memberships.
The track membership is for riders who want to spend a lot of time at the track, improve their skills, and be part of that environment. We also have Honda Grom options for mini-track training, because I genuinely believe those little bikes can change the way you ride.
For shop members, we offer benefits such as special pricing, private rides, events, late-night pickup options, discounts, and a community where members help each other.
The whole idea is to give something back.
I want MotoBros to be a place where people feel like they belong, not just somewhere they come in, spend money, and leave.
We're putting all the membership details together on the new website so you guys can see exactly what's included and decide whether it makes sense for you.
The First Service Starts With an Inspection
Now, let's get into the actual service.
One of the most important things you can do is simply take the time to look over your motorcycle.
Start at the front and work your way to the back.
Check the exposed fasteners, brake calipers, rearsets, axle hardware, mirrors, and anything that pivots or could potentially work loose.
You don't need to randomly tighten every bolt you see. Use the service manual, check the correct torque specifications, and inspect the motorcycle methodically.
While I was looking over the R7, I noticed something that appeared to be missing from the chain-adjuster hardware. Both sides looked the same, so I wanted to check the parts diagram before assuming anything.
That's exactly why inspections matter.
Sometimes you find something that needs attention before it becomes a bigger problem.
I also checked the coolant reservoir. It was a little low, although still above the minimum line. That's the kind of small thing that is easy to overlook but takes almost no time to correct with the proper coolant.
Time for the Oil Change
The oil change is one of the main parts of the first service, and it's something a lot of riders can learn to do themselves.
On this R7, the drain plug and filter are down low, so we needed to move some fairing pieces out of the way.
I thought it was going to be as easy as the previous R7.
Then I realized Yamaha had changed the fairing arrangement.
Of course they did.
The whole side fairing was more involved to remove than I expected, so instead of forcing anything or risking damage, I adjusted the approach and carefully created enough access to remove the filter.
That's one of the things you learn working on motorcycles: don't force plastic parts. Take your time and figure out how they're attached.
We warmed the engine briefly so the oil would drain more easily, then shut it off and let it cool enough to work safely.
After draining the oil, I cleaned the drain plug and removed the filter.
And I have one request for Yamaha:
Can we please get a magnetic drain plug from the factory?
I'd love to see that.
The One Oil-Change Mistake I Don't Want You to Make
When you reinstall the drain plug, don't leave it sitting there loose while you move on to five other things.
Install it correctly and torque it to the manufacturer's specification.
Same with the filter: follow the filter manufacturer's installation instructions. Many spin-on filters are installed by hand after the gasket contacts the mounting surface, but the exact procedure depends on the filter.
Then fill the engine with the specified oil and quantity.
The R7 has a sight glass, which makes checking the level nice and easy.
Make sure the bike is level, follow the manual's procedure, run the engine as directed, shut it off, and allow the oil to settle before checking the final level.
Don't overfill it.
And before you start the motorcycle, make sure the filler cap is fully installed, the drain plug is tight, and the filter is secure.
I know that sounds obvious, but it's the little things that can turn a simple oil change into a very expensive day.
Cleaning and Adjusting the Chain
Next up was the chain.
This is another job that can make a big difference in how your motorcycle feels and how long your drivetrain lasts.
First, clean it.
Use a cleaner suitable for your chain, a proper brush if needed, and a rag.
And please, never clean or lubricate your chain with the engine running and the motorcycle in gear.
Keep the engine off and rotate the wheel by hand.
Once the chain is clean, apply the correct chain lubricant. You don't need to empty half the can onto it. A light, even application is plenty when used according to the product instructions.
Then wipe away the excess so it doesn't end up all over your wheel.
Getting the Chain Slack Right
The R7's chain had loosened a little during the initial miles, so it was time to adjust it.
Loosen the axle and the adjuster locknuts, then make small, even adjustments on both sides.
The important thing is to keep the rear wheel aligned and set the chain slack to the specification in your motorcycle's service manual.
Don't just guess at an inch because somebody on the internet told you that's what every motorcycle needs.
Different bikes have different requirements.
Once the adjustment is correct, tighten the axle to specification, recheck the slack, and secure the adjuster locknuts.
I also like making sure the adjuster plates are properly seated so nothing shifts while I'm tightening everything down.
When it's done correctly, the chain should have the proper amount of movement, the wheel should be aligned, and everything should be secure.
Simple maintenance, but important maintenance.
The Rest of the First-Service Checklist
There are a few other things I always want to look at before calling the service complete.
Check the tire pressures, brake pads, brake fluid, coolant, battery condition, lights, and general condition of the motorcycle.
Tire pressure is something I get a lot of comments about because I often talk about the pressures I personally like to run here in Texas.
But tire pressure is not one-size-fits-all.
Start with the motorcycle and tire manufacturer's recommendations, then consider your load, tire model, riding conditions, and whether you're on the street or track. Track pressures should be set according to the tire manufacturer or a qualified tire technician.
Don't assume that lowering pressure automatically gives you more grip or that one pressure is perfect for everybody.
The goal is to understand what your motorcycle needs and make informed adjustments.
My Favorite Part: A Little Suspension Tuning
Now for the suspension tip I promised you guys.
We had just run this R7 on the track, and I wanted a little more support and feel from the front end.
The bike had a bit of that seesaw feeling, and I wanted to calm it down without making a bunch of changes at once.
So we made a small adjustment to the front compression damping.
On our bike, we ended up at three clicks out from fully closed, and I really liked how it felt.
But here's the important part: that is a setting we tested on our motorcycle. It is not a universal setting for every R7 or every rider.
Before you touch your suspension, write down your original settings.
Count the clicks carefully, never force an adjuster against its stop, and make sure you understand which adjuster you're changing.
Then make one small change at a time and test it.
If you don't like it, you can go right back to where you started.
That's how you learn what suspension does.
You don't have to understand every technical detail on day one. Start paying attention to how the motorcycle feels, make controlled changes, and learn from the results.
And Finally… Those Yellow Wheels
I love this blue R7.
I really do.
But these yellow wheels?
They are going to drive me absolutely insane.
They look amazing when they're clean, but every bit of chain lube, brake dust, and road grime shows up on them.
I've used WD-40 on a rag to help remove stubborn grime from painted wheels, but you need to be careful with any solvent or lubricant around motorcycle tires and brakes.
Use a cleaner approved for your wheel finish whenever possible. If you use another product, check compatibility first, apply it to the rag rather than spraying it around the wheel, and keep it completely away from the tire tread, brake rotors, and pads.
The goal is to clean the wheel without creating another problem.
A little patience and the right cleaner make a huge difference.
And even though I know these things are going to be dirty again in about five minutes, I still love how they look when they're clean.
What's Coming Next
That's the first service done.
We inspected the bike, changed the oil, cleaned and adjusted the chain, checked the important maintenance items, and made a small suspension adjustment that I'm really happy with.
And the best part is that a lot of this is stuff you guys can learn to do at home.
You don't need to be afraid of working on your motorcycle. Get the correct service manual, use the right tools, take your time, and ask for help when you need it.
We've also got the exhausts sitting here ready to go.
Those are coming next.
We're going to install them, get the R7 on the dyno, and show you what changes. I want to see the numbers before and after so we can actually measure what the upgrades do.
No guessing.
Just real results.
I appreciate you guys watching. If you have questions, leave them in the comments, and let me know what you want to see next.
Please ride safe, grow your skill, and I'll see you guys in the next one.
Craig, MotoBros
Watch the vlog
Play it here. You stay on motobros.net.
Subscribe on YouTube · Visit the shop